
Almost two months ago now, I wrote about my Relaybox. I wrote then that I started writing about my light controls, and then decided to write on that. This is the post on the light controls.
Apologies up front for not adding the code for this, but it's on a raspberry pi that was pulled mercilessly out of production to move home, and I forgot to push the code before I pulled it. If someone pesters me enough, I can boot it back up and pull it off. (or I might do it on my own, we'll see...)
A couple of months ago I was dissatisifed with the method of turning the lights in my room at school on and off. I had to go into my room, navigating in the dark, sit down at my computer, type in my password, and then I could press a key on my keyboard. It occurred to me that GPIO on the Rasperry Pi is really pretty simple, and building a box with some buttons on it is equally simple.
I started with what I had. A bunch of Cat5e cable and a couple of single pole switches.
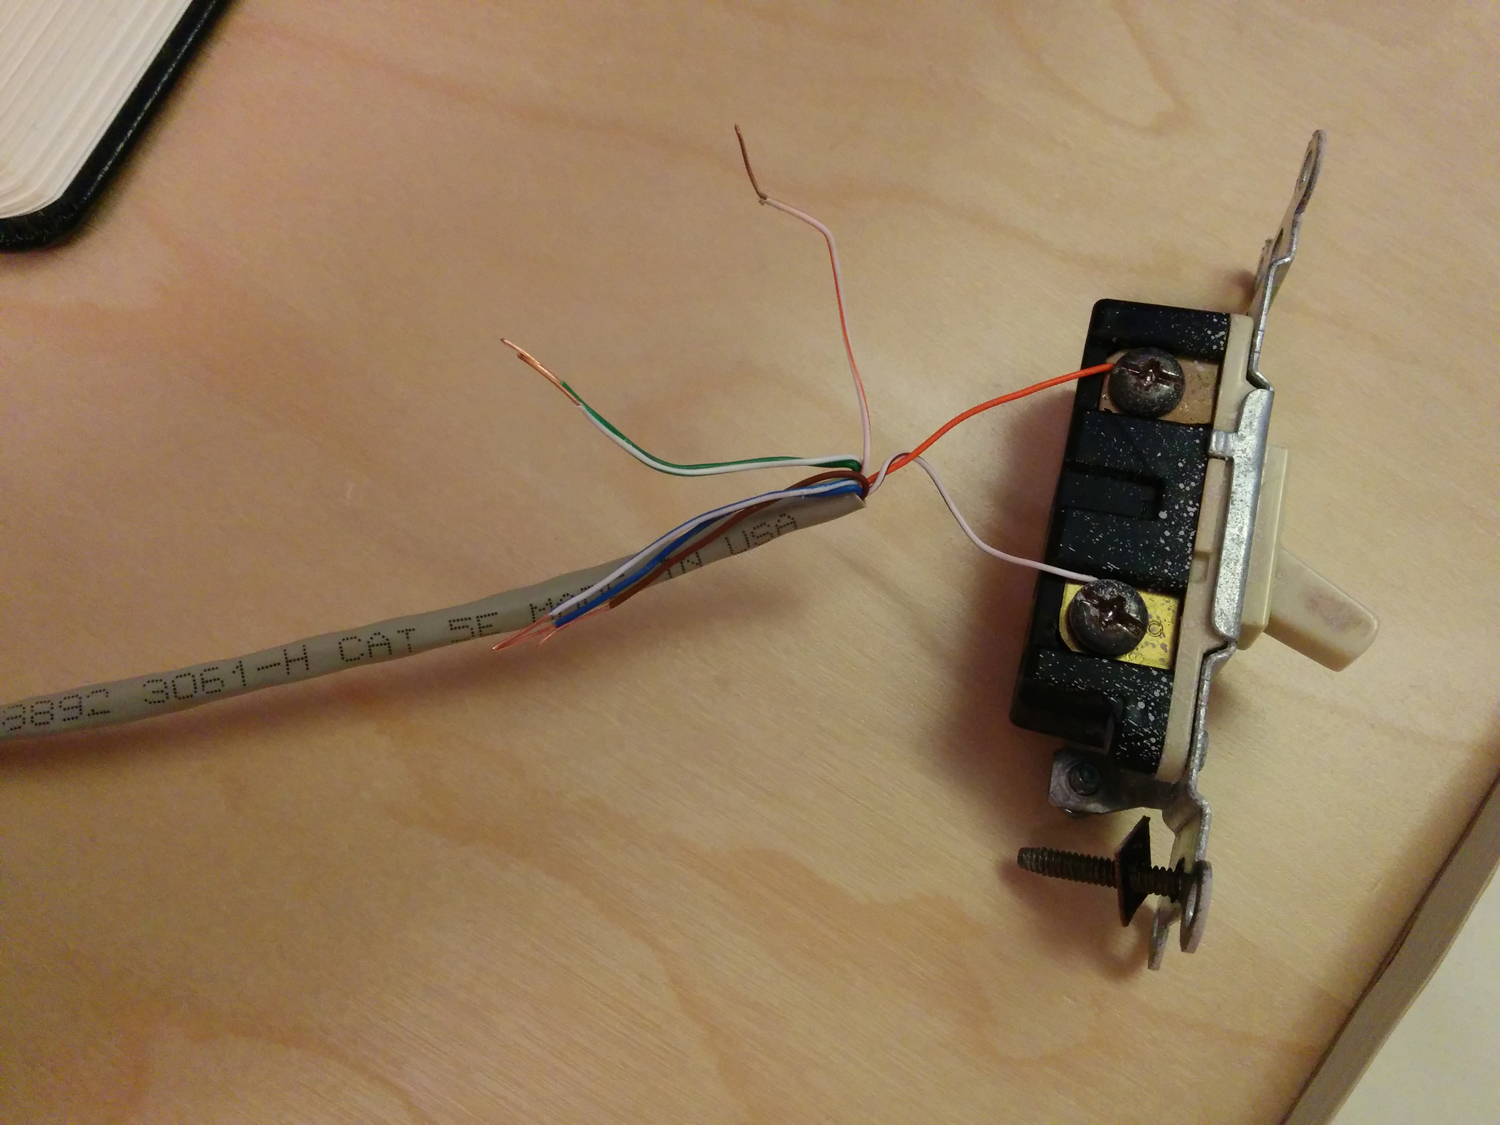
I wired two of them up and attached them to two different GPIO pins on the Pi, then made them behave like three way switches in software. (Yay, XOR) This is great, except the switches tend to bounce, so I had to add some de-bouncing in to make it work better.
I made an amazon order for 2 project boxes and about 15 buttons. I drilled the holes for the buttons in the boxes, and put the buttons in.
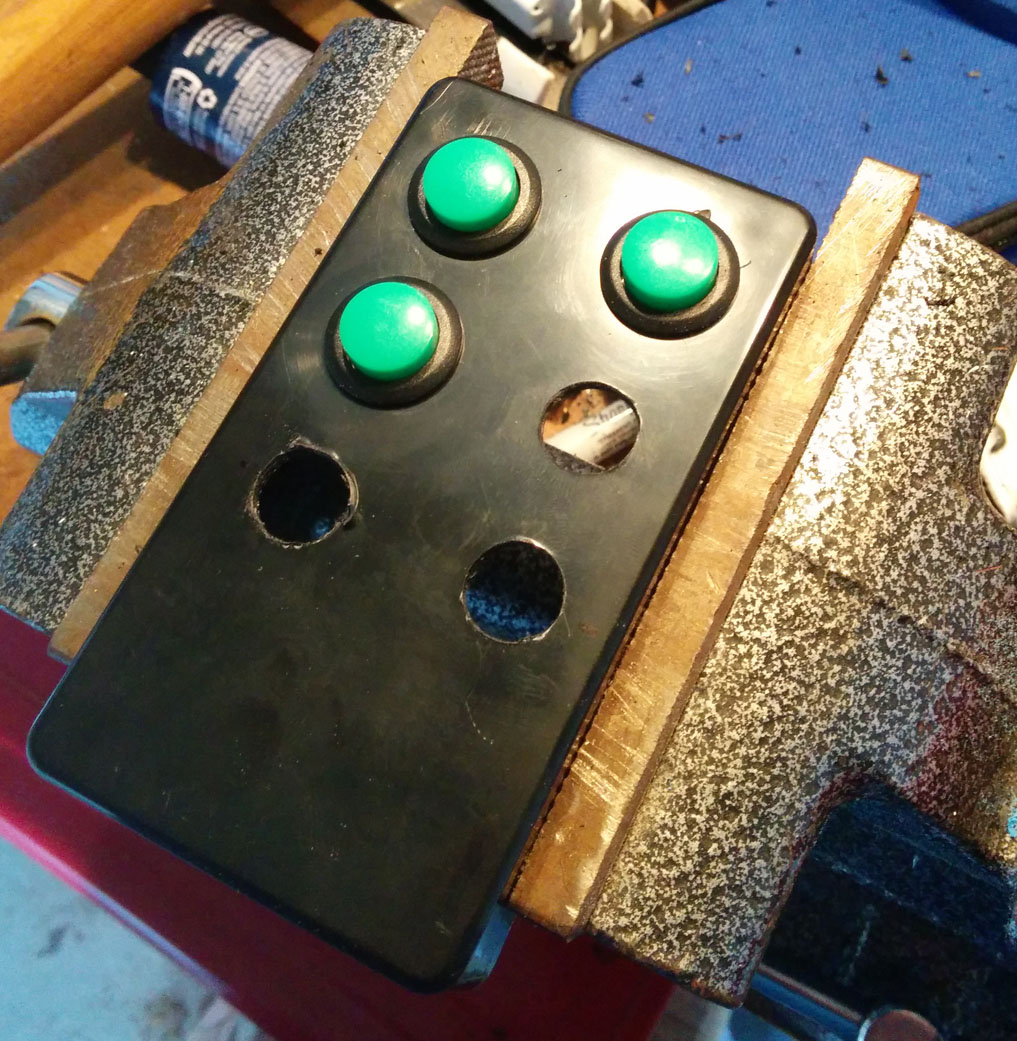
{<3>}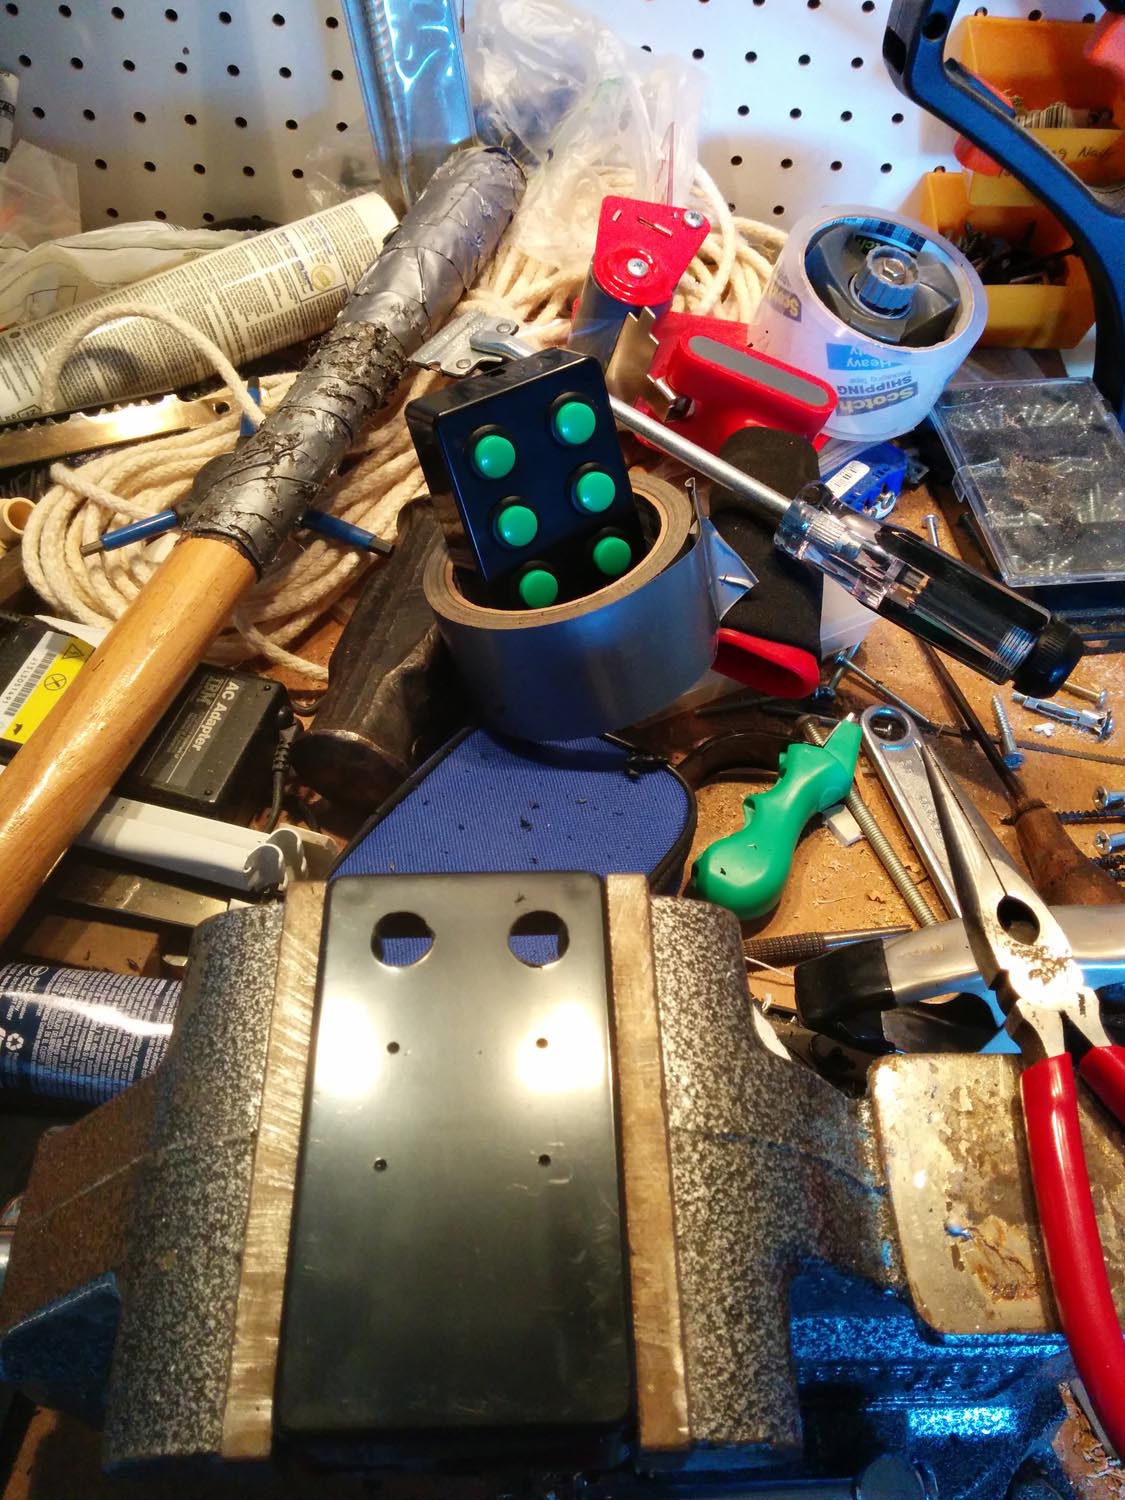
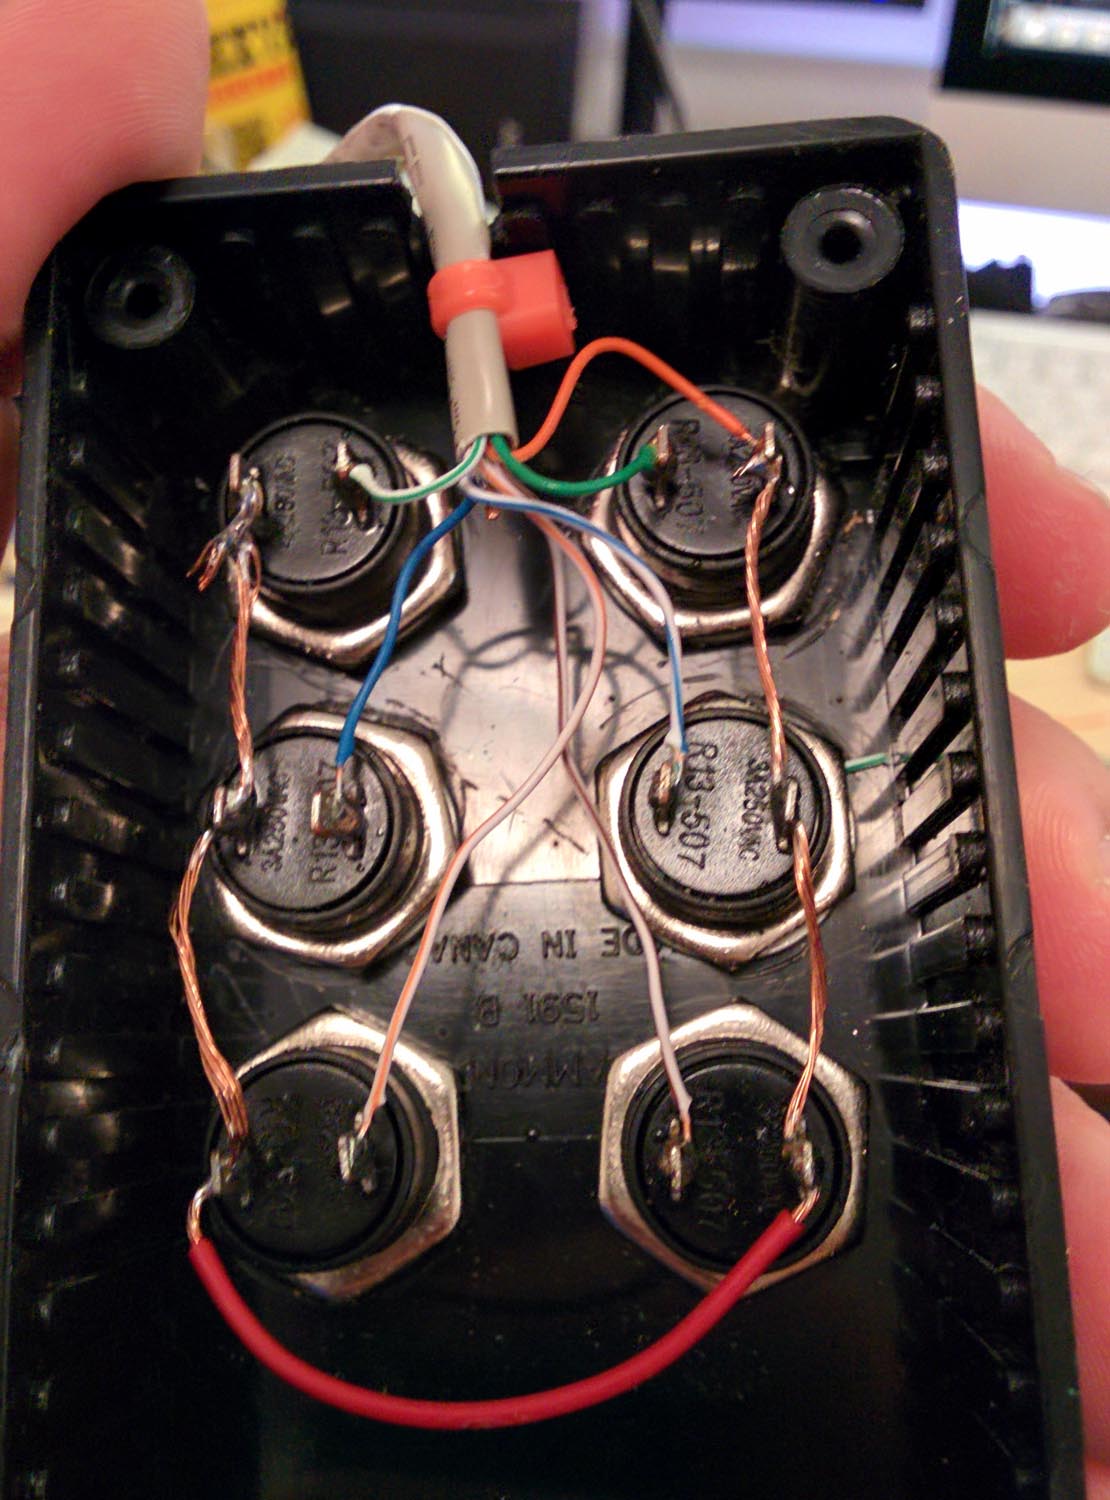
After drilling all the holes, it was time to wire them up. (I did the drilling at my parent's house, and the wiring at my apartment, since that's where my soldering iron was...)
After this, it was all down to software. I resurrected my pi since I started this post (a whopping 6+ hours ago!), and pushed the code to a new branch on github. Most of the new magic is in this file.
Here's a youtube video (pardon the mess, it was the middle of the semester, and after I had just finished this project. Also pardon the fact that it's a vertical video, but I felt it showed more interesting stuff...) demonstrating the functionality of the remote. As you can see, it turns on and off everything form the LED lights (which I've written about previously) to my mac, to all my sound gear (which you can't see...)
Future Plans
Since I built all this out, I moved home after college. As a result, it's now mostly been taken down. I have some interesting plans for the future of this whole thing, though.
LED Lighting
I really want to get LED lighting set back up. I've tired of using my Arduino to drive the lights (which always kinda felt like a crude hack anyways) so I think I'm going to buy one of these which should be able to drive the LEDs directly from the Arduino (thorugh the RGB amplifiers, of course)
More Relays
I still have another relay board, which I want to put into use somewhere. I might follow David's lead and use a Spark Core. (Have to get one first). I might also be puting it inside my Furman M-8X2, which I'm considering the details of very carefully. The relays fit, but the Raspberry Pi does not.
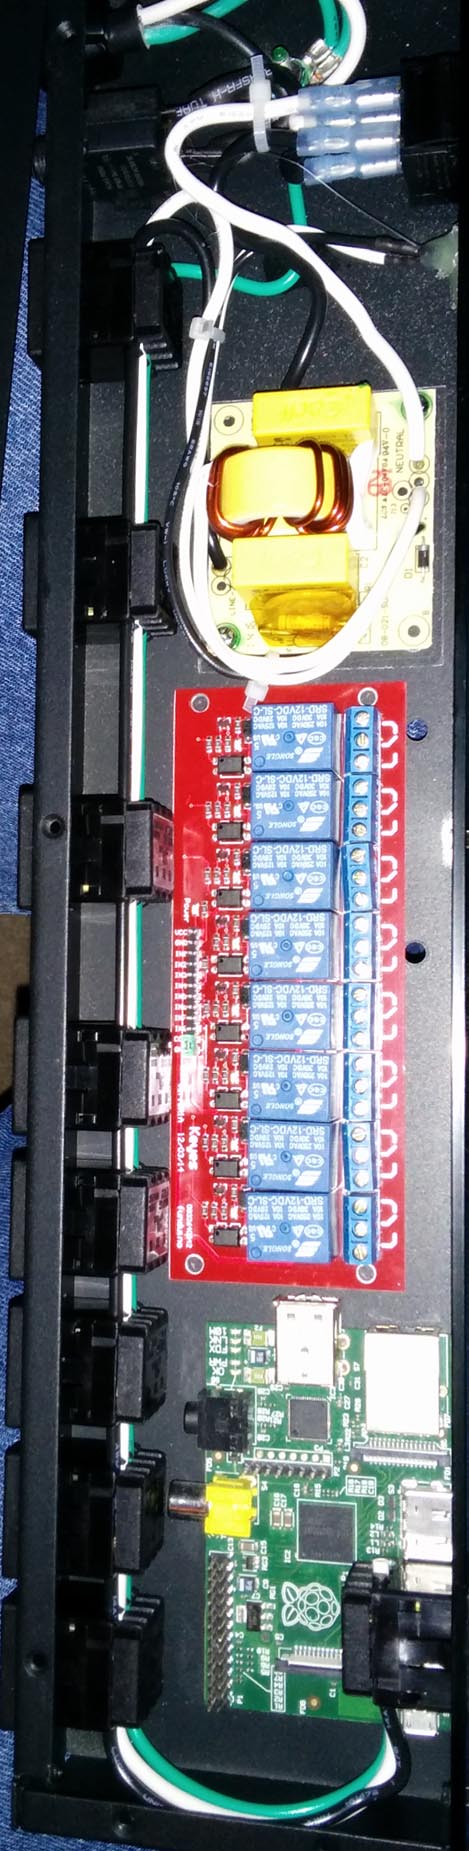
(Note that it kinda looks like the pi fits, but it's missing the cap next to the micro USB, so it won't fit in like that.)
To infinity and beyond.
Ultimately, I want to have a mostly autonomus control system. Walk into a room, it turns on the lights and everything else you need. Walk out - it turns them off. This is still probably a number of years off, but these little steps might eventually lead there.
Until then,
-Josh