Ever since I got my first strip of RGB LED lights, I've loved them quite a bit. The only issue is the pesky controller that came with them.
I have been meaning to do something about this for a while, so I asked for (and received) an Arduino for Christmas. Before you say it, yes, I know that was over five months ago.
Well anyways, I'm finally getting around to doing some actual stuff with it. I had seen this reverse-engineering of the existing remote and controller a few months back nearly a year ago on Hack-A-Day. I went back to that earlier today, and decided to crack my controller open and use those transistors.
I opened the controller up, and, as I had hoped, I was greeted with the exact same board as was in the post.
I decided to rip the IC off the board, as I didn't know (and don't want to find out) how it or the Arduino interact with each other.
I soldered some wires onto the appropriate sides of the transistors, and then tested with the 5v and ground going to the IR receiver. Success! I could switch the colors on and off!
I cut up some jumper wires that came with my Arduino starter kit to make it easy to connect to the Arduino. I soldered these onto the wires that I soldered to the transistors. Unfortunately, though, in the process of soldering wires, I managed to rip one of the legs off one of the transistors. :( Fortunately, I have a box that's basically just a few transistors on the way. If that doesn't work, I still have another controller I can use.
I also included 12v and ground off the control board to the Arduino, since at the time I was thinking of doing more control on the Arduino side of things. In the end, I could've left the 12v off, but definitely need the ground to keep the PWM looking nice.
I loaded up the "blink" example, and was greeted with a flashing color LED strip. Yay!
I coded up a short program write out a reasonable white to 2 pins (I soldered the red line directly to the power supply...), then extended it to to read in 3 bytes of serial and set pins' values to be the bytes passed in on serial.
[caption id="attachment_146" align="alignnone" width="630"] The results of my RGB white.[/caption]
I then kept going with a couple dozen lines of python that held some colors and could easily write those to the serial port. That python as well as the code for the Arduino are available in their current form from github. (They're in a very early state currently, but I'll keep working on them over the coming weeks months...)
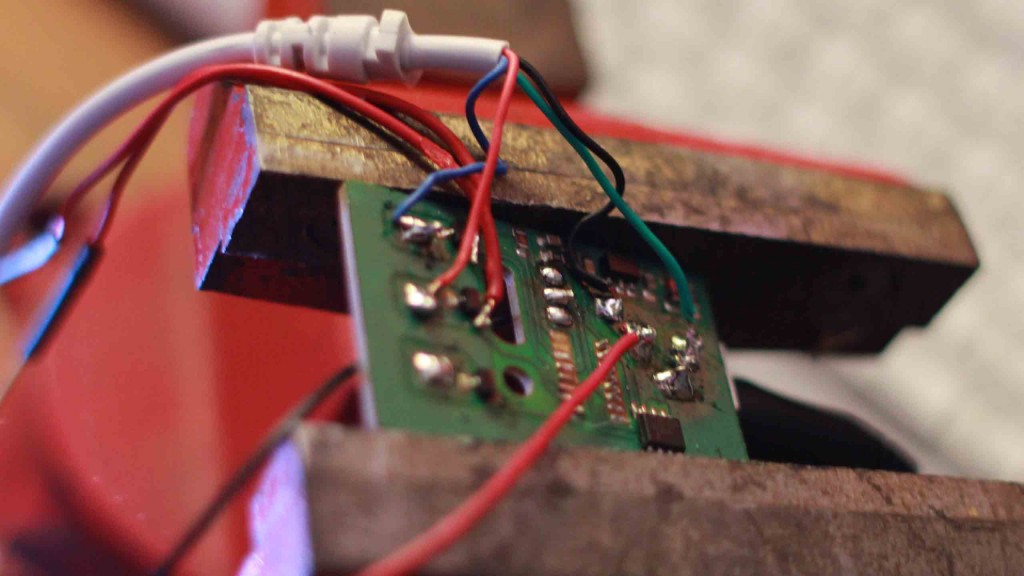
Here are some more pictures of the control board itself. I ended up PHYSICALLY ripping the IC off the board, which left the contacts in a not very nice state.
[caption id="attachment_147" align="alignnone" width="630"] The circuit board after I finished my modifications. Red and black wires you see coming towards the front are power for the Arduino, red wires towards the back are control from the Arduino.[/caption]
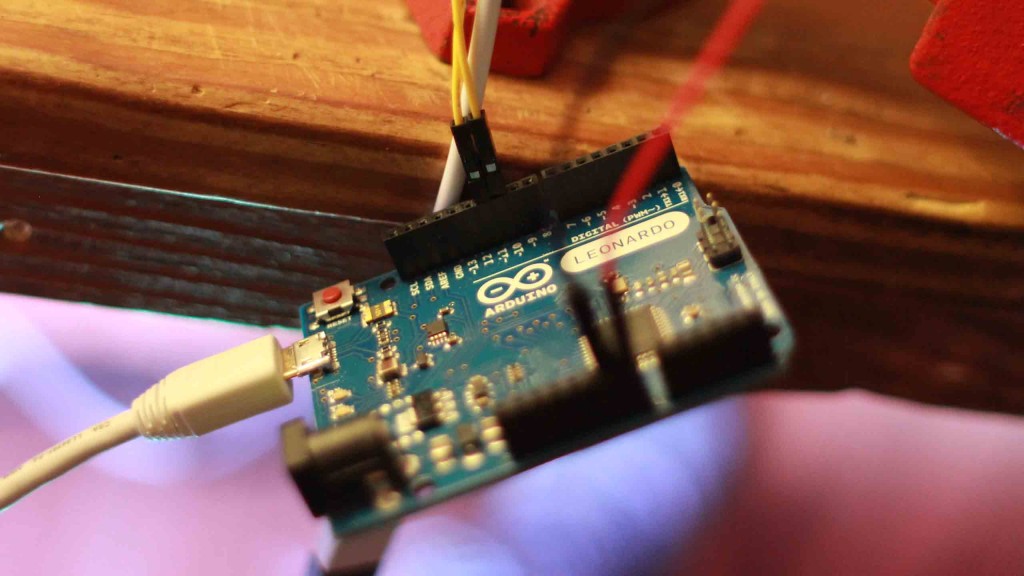
[caption id="attachment_148" align="alignnone" width="630"] The Arduino all hooked up.[/caption]
Generally, I'm very happy with the direction in which this project is headed. I have some thoughts in my head about what to do with the python stuff. (change the color temperature based on time of day, etc...)
